- Canada’s Growing Zones Are Changing 2024 - January 12, 2024
- Attracting Wildlife To The Garden - May 16, 2023
- How To Garden Near A Septic Tank - May 9, 2023
As a Canadian gardener I’ve always thought winter sowing was silly and pointless. Mostly because of how late in the season our frost free days start. I generally thought that the extra four weeks you can get from winter sowing is not enough to make a big difference in the garden.
But after many other influencers saying that they do this and enjoy it I decided to start winter sowing this year. For those of you that do not know I am in a Canadian Zone 3, USDA Zone 4. In This zone the frost free days begin at the end of May, sometimes extending into the beginning of June. This means we can count back approximately four weeks to six weeks to give us an idea of when it is time to start our winter sowing.
We can technically winter sow our seeds anytime after the winter has settled in for the year. However, you will want to get started no later than 4 to 6 weeks before our last frost free date. This will ensure you are transplanting full sized plants and not tiny seedlings.
However if you choose to winter sow your seeds earlier in the year such as January for example you may run into a sudden cold snap. If the plants have germinated during a time of advantageous weather and are suddenly thrown into a cold snap your plants may not survive. Or you may run into a scenario where your seedlings can grow too large for the containers resulting in the need to transplant part way through the spring season.

What is Winter Sowing?
Winter sowing of seeds is best described as planting seeds outdoors in a protected area or container before the ground has thawed and temperatures are below zero. However, if the temps are above zero during the day and reaching below zero during the night this method is still effective with some minor adjustments we will talk about later on.
The sowing of seeds in the later stages of winter has its benefits. These benefits include setting and forgetting, earlier starts for plants, and no fancy equipment such as lighting or heat mats are required.
What Are The Benefits Of Winter Sowing
This is one thing I struggled with for years. I had a hard time understanding the advantages in winter sowing. Mostly because you would have to collect in an enormous amount of milk jugs to make that big of a difference in the garden.
But after applying some science and logic to the idea of winter sowing I have found some benefits to this method. The first being cost savings when it comes to lighting and sanity.
Winter sowing is going to save you a ton of cash in things such as grow lighting, under heating pads, and racking systems for plants. The reason for this is pretty obvious. The ability to harness the intensity of the sun not only for heat but also for light. If leggy seedlings are a common issue for you then winter sowing may be the best choice.
The Best Seeds For Winter Sowing
The best seeds for winter sowing generally include any seed that transplants well. This is because we need to actually pull at the roots to separate the seedlings at the time of transplant. It’s important to only use plant varieties that transplant well. Ones to avoid would be melons, squash & cucumbers. These plant families in general do not enjoy transplant and most definitely do not enjoy being tugged and pulled apart.
The best seeds to start winter sowing with consists of herbs, cold climate crops such as kale, and flowers that mature quickly such as marigolds.
Another option for winter sowing would be native perennials to your zone. This will allow for blooms and flowers sooner in the season. Feeding pollinators and making your garden look beautiful.
Seeds That Should Not Be Winter Sown In Canada
Other crops to avoid winter sowing would be root vegetables, & anything with a days to harvest over 100 days. Root vegetables have short growing seasons generally under 60 days so try seeding those directly into the garden. For plants with 100 days plus to harvest it is better to start these indoors. The growing season needed for these plants not only is large but generally these do better in warm situations as well.
If you are in zone 4 or zone 3 you may want to avoid anything over 85 days because your growing season is too narrow. These crops are best started indoors in April or end of march at the earliest. This is especially true for plants such as tomatoes and peppers which need warm temperatures to succeed.
Another important factor is the source of the seed. Choosing seeds from Canadian seed retailers is important for increasing germination. Seed from plants grown in Canada tend to do better in colder climates due to the exposer they have already been accustomed too. The seeds I used in this project where from Zappa Seeds. The Zappa seeds are not only Canadian grown and sourced but also come in jumbo packets so if the seeds dont work out there will be lots of extra left over.
What If The Seed Freezes
A common worry with winter sewing is if the seed itself will freeze. And this is not of concern for a majority of crops you choose to winter sow. Seeds typically need a level of vernalization in order to germinate.
The seeds freezing may actually increase your germination rates. The main concern when talking about freezing in the winter sowing scenario is the freezing of the plant after the seedling emerges. We will talk about methods to prevent this a little bit later on. For more on getting the best rates of germination check out my blog post on the benefits of soaking your seeds.
Winter Sowing Vs. Cold Frames
Using cold frames for winter sowing is not the same as the milk jug method. These are two drastically different operations. Cold frames when done correctly for a Canadian climate can be expensive. Cold frames are meant to house full grown plants, more so than seedlings. Cold frames are also not moveable and in situ even after the spring freeze is done and gone.
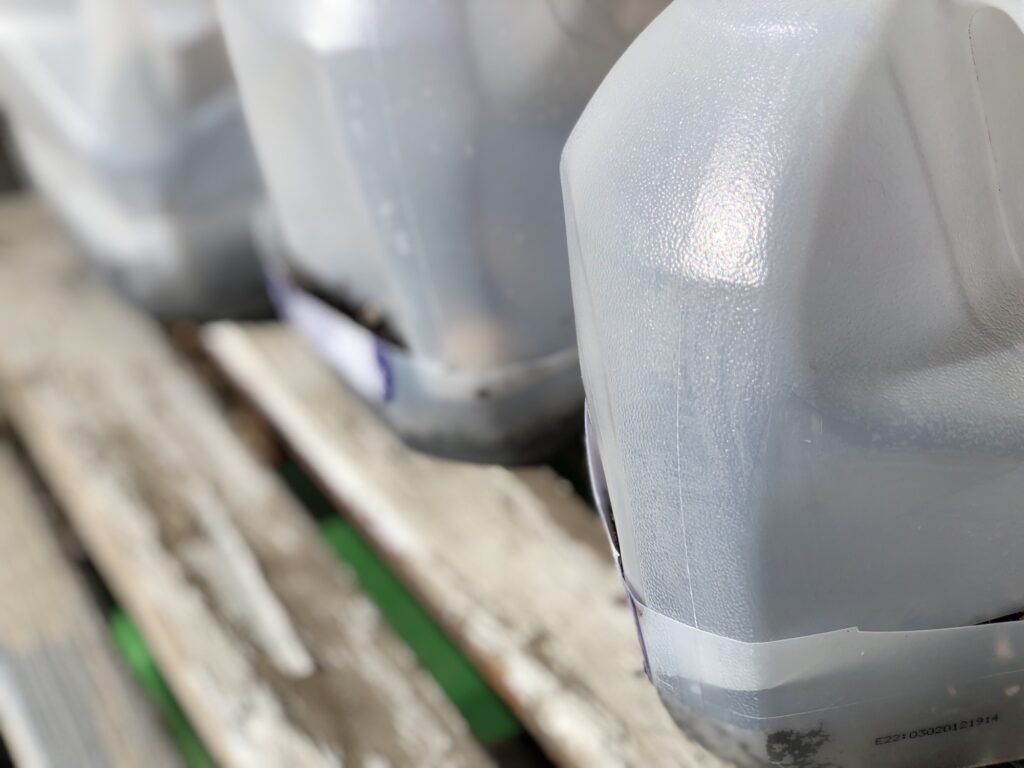
Winter sowing in containers on the other hand is usually done with recycled materials. The goal when choosing a container is to find one that it has a bottom and a higher top. Things such as milk jugs, pop bottles, old Rubbermaid’s all work. The bottom should have drainage holes but be intact. The intact portion of this is important because it will allow you to move your winter sowing setup as needed.
Situations where you may need to move your container include sudden cold snaps and when time to transplant. The intact bottom also ensures the roots won’t reach to garden soil and take root. If the roots mix into the garden soil transplant shock is inevitable. Try to place your containers on a man made surface when possible.
The height of the container is going to be the make it or break it for when it’s time to transplant. The taller the container the better. This will give you ample time before having to transplant. If the container is too short and you’ll potentially have to transplant indoors.
Soil For Winter Sowing Containers
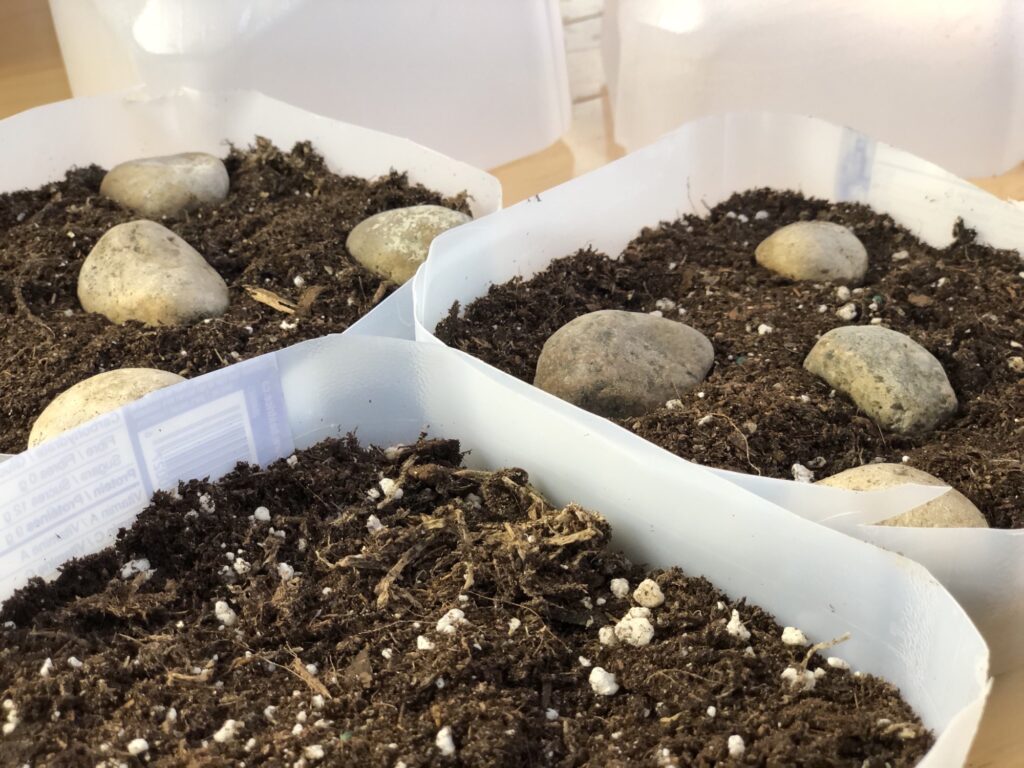
Any sort of seed starting mix will work for this. The only thing you may want to add is extra perlite for aeration because it will be an enclosed soil system. The other addition would be rocks to the surface after the plant has sprouted in order to harness heat. If you want to know more about how to reuse potting soil check out this post.
What Type Of Plant Is Produced In A Winter Sowing System.
Cold tolerant plants the need little to no hardening off period. The seedlings that emerge and plants that develop were born from harsh conditions. This means their root systems, foliage and over physical structure can survive in adverse conditions.
Increasing Heat During Nighttime Hours
To increase the ambient temperature inside the containers at night you will need to find a heat sink. A heat sink is anything that is able to absorb the heat from the sun and slowly release it during the night time hours. In something this small the addition of rocks is the best alternative. The rocks I used for my winter sowing project were here.
Should You Leave The Cap On You Are Winter Sowing In Milk Jugs?
Putting the cap back on. Keep the cap for your containers on hand so the hot air from the day can be contained during the nighttime hours. Simply plop the cap back onto the container when the sun begins to set.
Placing the containers under a roof eave. If you didn’t already know eaves on roofs have the slots in them to allow for heat and moisture to escape. This prevents mold and mildew from building up in the ceiling. This also means there is an area close to the house where the outside temperature is slightly higher. Take advantage of this by placing your container close to the home.
Things To Watch For In The Weather.
Chinooks are a common occurrence in western Canada and western portions of the USA. This false spring may cause seeds to germinate if it’s over a week long. This is unfortunately not avoidable and if the warm temperatures are followed by a plunge into cold temperatures then your seedlings will not do well.
If a chinook or sudden heat wave is headed your direction place your winter sown seeds in a shady area. Keep them there until the warm air has dissipated. This isn’t a guarantee but it’s better than having to start over from scratch.
In conclusion it is easy to see the benefits of winter sowing which include saving money on lighting and developing stronger plants for the garden. Things to consider include the height of the container and adding some heat sink items such as rocks. The seeds that do best in a winter sown setup include native perennials, foliage plants such as herbs and plants that do well when transplanted. Plants to avoid in a winter sowing set up include cucumbers, squash, root vegetables, melons, and anything with a longer growing season.
Let me know in the comments below what your favourite winter sown seeds are and what containers you enjoy using for this project.