
- Canada’s Growing Zones Are Changing 2024 - January 12, 2024
- Attracting Wildlife To The Garden - May 16, 2023
- How To Garden Near A Septic Tank - May 9, 2023
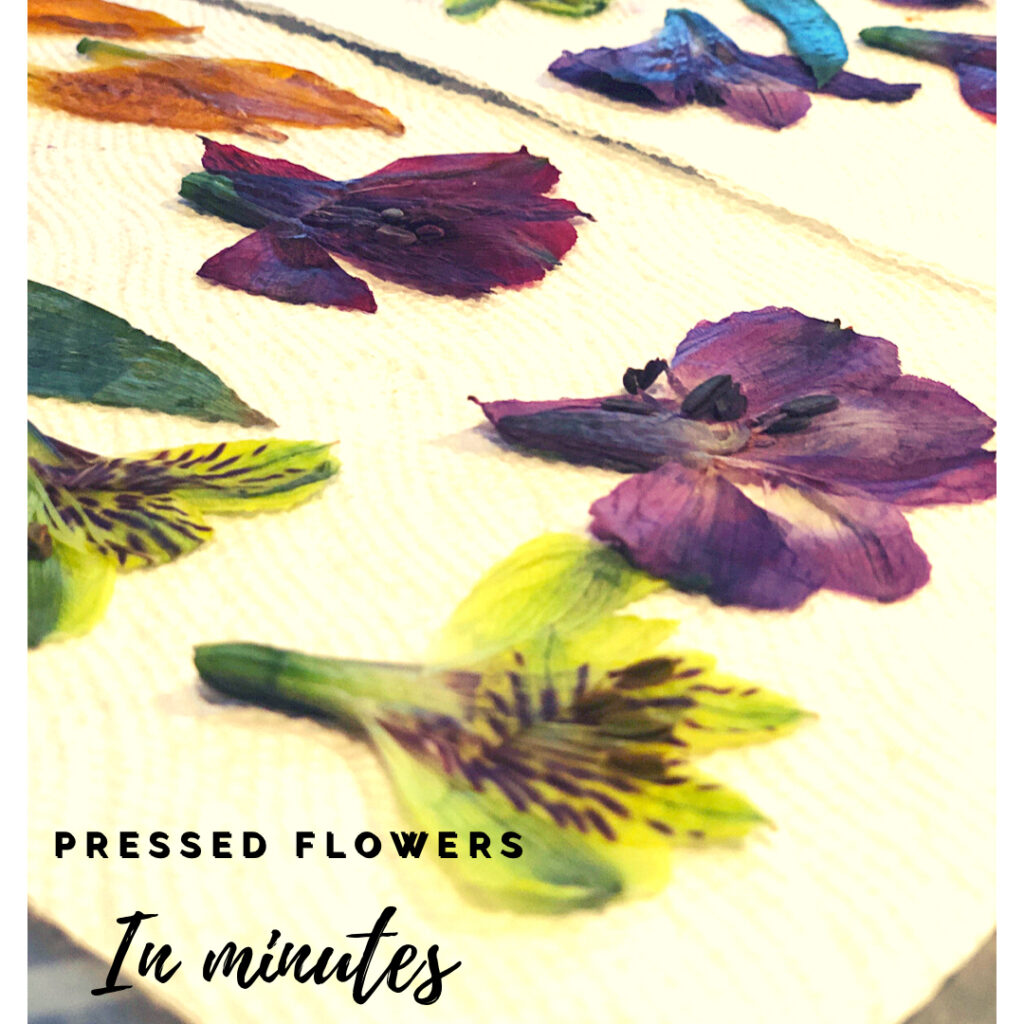
How Do You Press Flowers Quickly
Knowing how to press flowers quickly is valuable for an one looking to collect flowers in the garden. The process typically can take a month or more using classical methods of flower pressing. In this blog post we will be looking at how to quickly press your favourite flowers using a microwave and house hold materials. This blog post is sponsored by Connected To The Land.
History Of Pressed Flowers
The process of pressing flowers is an old practice that has been used by botanists, biologists and everything in between. The origin of pressed flowers dates back to the Egyptians. They used these pressed flowers for makeup, dyes, perfumes, and incense. From there the art form evolved into a favourite pastime for women in the Victorian era.
Victorians Were The DIY Pros
The Victorians were known for using pressed flowers in simple everyday objects. These items included bookmarks and even elaborate wall designs. What the victorians did not realize is that they were slowly building a botanical dictionary of different plants. The importance of pressed flowers for documenting the world around us is still used today.
Current Purpose For Pressure Flowers
In university we were required to take a field course where we pressed our own plants with professional field presses. Over the course of four years we put together a portfolio of native vegetation. Every plant identified, labeled with a date and location.
In recent years flower pressing has made a revival. You often see pressed flowers on cards, in picture frames and resin DIY projects. It’s the perfect way to preserve a wedding bouquet, or a flower from a special vacation spot.
The in field method can take weeks of waiting. This is because we rely on the use of air and pressure. The air helps dehydrate the plants over a period of three weeks. While the pressure helps ensure the plant stays flat. The flat feature of the plant allows us to see the details of the plant while also making it easy to use for at home DIY crafts.
How To Press Flowers Quickly
Thanks to the modern luxury of a microwave we can speed up the process for drying flowers. This method takes only a few minutes per batch start to finish.
The microwave method is not suitable for white or lightly coloured plants. These lighter coloured flowers do best with the original method. The process of microwaving plants tends to cause a sunburn. This sunburn effect is not noticeable with darker coloured flowers but with any white it tends to turn a brownish colour.
Step-By-Step Instructions For Microwavable Pressed Flowers
- Choose any flower fresh from the garden or days old cut flowers from the kitchen. Keep in mind any imperfections such as bruising or creasing will only be amplified in the drying process.
- Pat the flower dry with a paper towel and remove any excess/standing water. This is an important step to ensure there are no hot spots. Hot spots will cause areas where burning will be increased.
- Take a piece of cardboard and put a piece of paper towel on top.
- If you are wanting to speed the process up even further remove dense plant parts such as the stem. Leaving you with the flower and leaves.
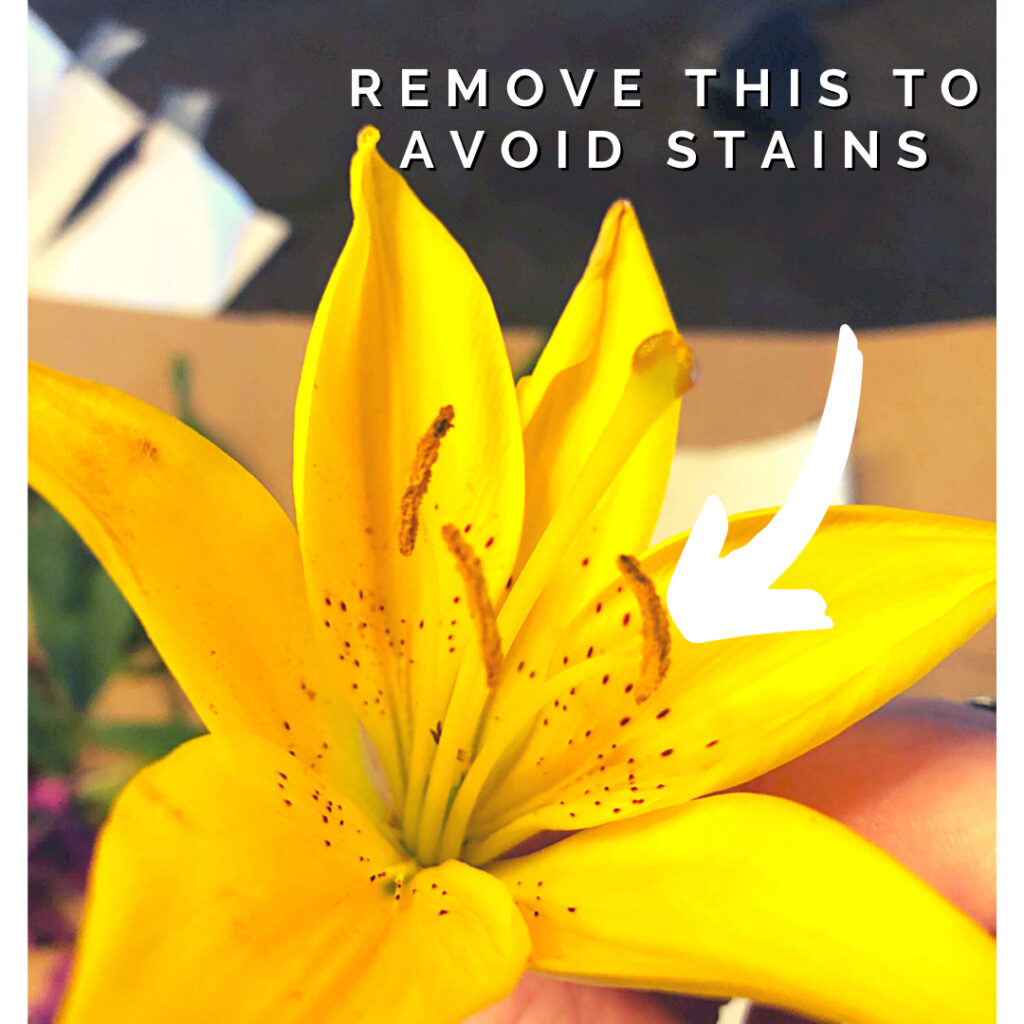
- Remove the anther and filaments from the flower that may cause staining. These are common on plants such as tiger lilies. If the anthers do not cause staining feel free to leave them in place.
- Try catching new glimpses of a flower by cutting it in half. This will allow you to see the different parts that make up a flower.
- Place your whole flower, leaves and cross sections on the paper towel. Ensure they are not touching each other.
- Choose any flower fresh from the garden or days old cut flowers from the kitchen. Keep in mind any imperfections such as bruising or creasing will only be amplified in the drying process.
- Pat the flower dry with a paper towel and remove any excess/standing water. This is an important step to ensure there are no hot spots. Hot spots will cause areas where burning will be increased.
- Take a piece of cardboard and put a piece of paper towel on top.
- If you are wanting to speed the process up even further remove dense plant parts such as the stem. Leaving you with the flower and leaves.
- Remove the anther and filaments from the flower that may cause staining. These are common on plants such as tiger lilies. If the anthers do not cause staining feel free to leave them in place.
- Try catching new glimpses of a flower by cutting it in half. This will allow you to see the different parts that make up a flower.
- Place your whole flower, leaves and cross sections on the paper towel. Ensure they are not touching each other.

This process took me five rounds of microwaving. If you have a double petal flower or a larger flower such as a rose this may take double the time. Do not rush the process of 30 secs at a time or you may cause discoloration and potential shrinkage.
For storage simply place them flowers in wax paper inside of a book. The wax paper simply protects the book from colour change over. If you choose to store them you want to make sure the flowers are completely dry. If there is still moisture present you run the risk of mold.
It’s official you are a botanist in the making. You are now fully prepared to start collecting specimens of your favourite flowers and memories. What are you using the pressed flowers for?
